Hello, thanks for visiting Wonky Woolies!
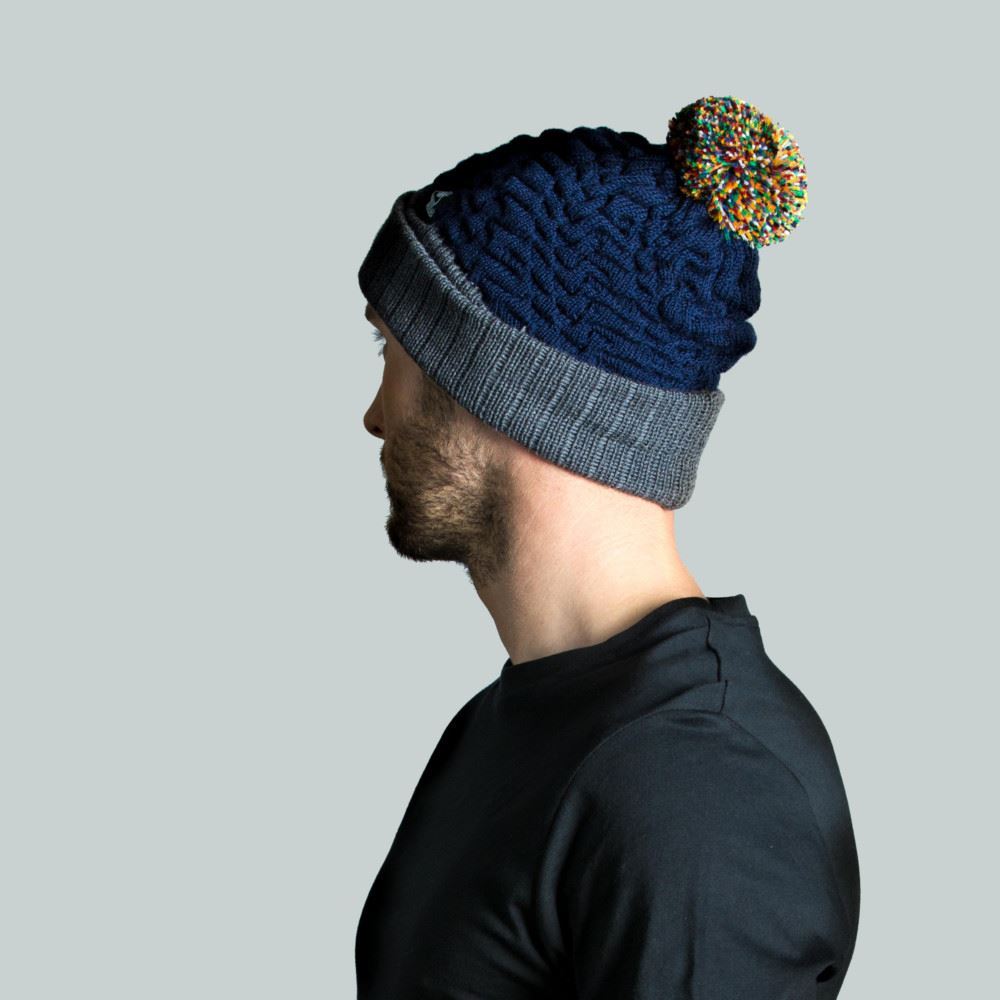
The Pompom

The history of the pom.

Like a cherry on a cake, no bobble hat is complete without a pompom but does anyone really know why or when poms came to be? I’ve done a bit of digging and this is what I’ve found out!
- Pompoms date back to the time of Vikings and in particular the Scandinavian god, Freyr. A statue depicting the god wearing a helmet adorned with a pom was found on a farm in Sweden in 1904. The statue originates from 800-1066 CE!
- 16th century English soldiers and labourers would wear a Monmouth cap – a round knitted hat made from wool. It featured a little loop of yarn at the top called the button. Perhaps an early cousin of the pom?
- The word comes from the French ‘pompon’ and means an ornamental tuft of wool, ribbon, or feathers. The uniform worn by Napoleon’s infantry included pompoms upon their hats. Each company had a different colour and would indicate which company a soldier belonged to.
- Pompoms were also a part of the Scottish Highlands regiments’ uniform. Worn on top of the Balmoral bonnet was the ‘toorie’ – a bobble made of wool ends. It was traditionally bright red or black to match the bonnet.
- Fishermen and sailors wore for them extra protection. The pompom was to stop them from bashing their heads off their boats when the waters were rough at sea. Similar to how cats use their whiskers, they were able to gauge heights above them with the pom while navigating the ship.
- South American traditional dress is decorated with brightly coloured pompoms. They are worn as a sign of social status and marriage. Depending on the colour of the poms on their hats and clothing, you can spot who is single and who is not. A form of mating call!
How to make a pompom.
These pompom makers are super easy to use and can be found in any craft shop or on Amazon.

Start by wrapping yarn around one side of the maker until the arch is full then close it back into the circle. Repeat this process on the other side.
Next, cut both sides of wrapped yarn down the middle. Make sure you do this carefully as it’s not yet fully secure.
Finally, tie a long length of yarn around the circumference to secure. This is the yarn that you’ll use to attach it to your product, so make sure you’re generous. Once tied, you can open the arms of the tool and hey presto, you’ve made a pompom!


For quirky variations, try mixing up your yarn in texture, weight, and colour to create a funky, unique pom. Another option is to go way back to school and cut two discs from a cornflakes packet. Thread the yarn through the hole, wrap and repeat. It does take a while but who doesn’t love a bit of nostalgia crafting?
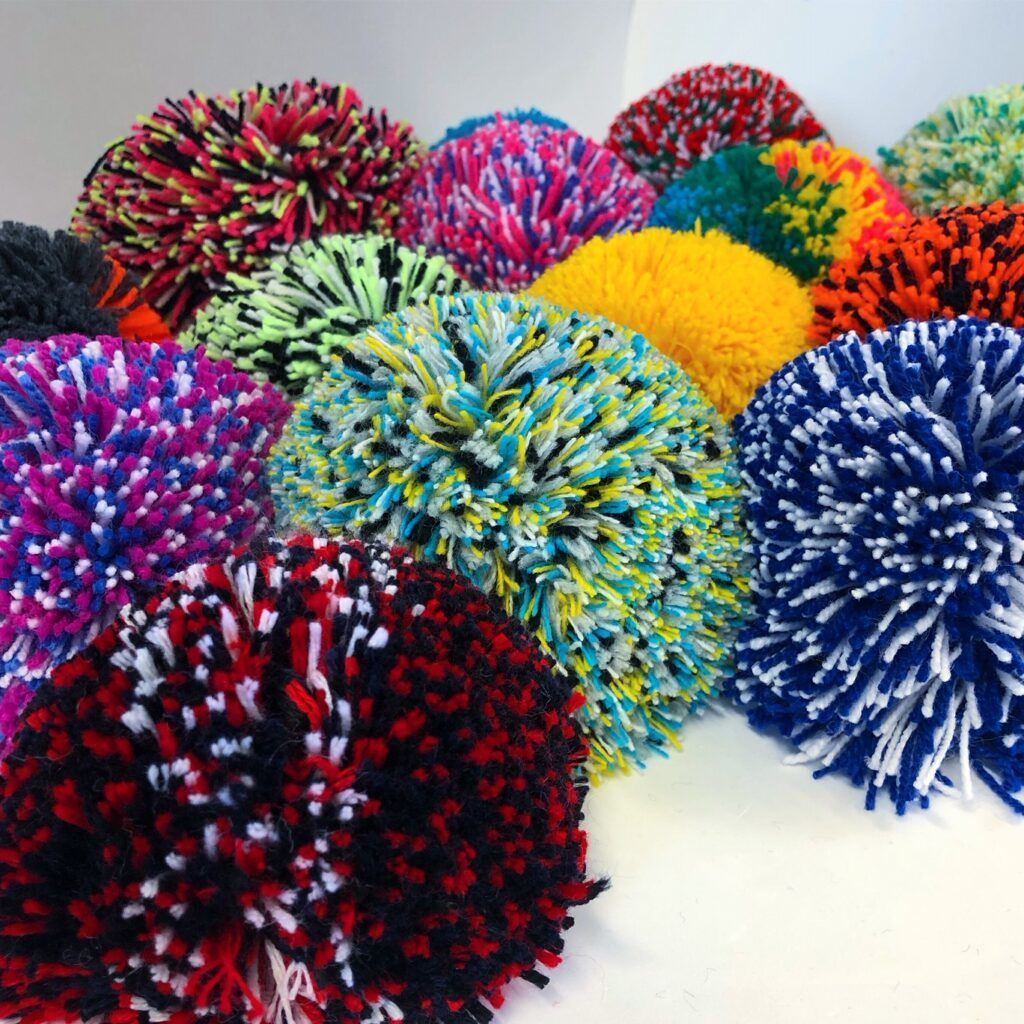
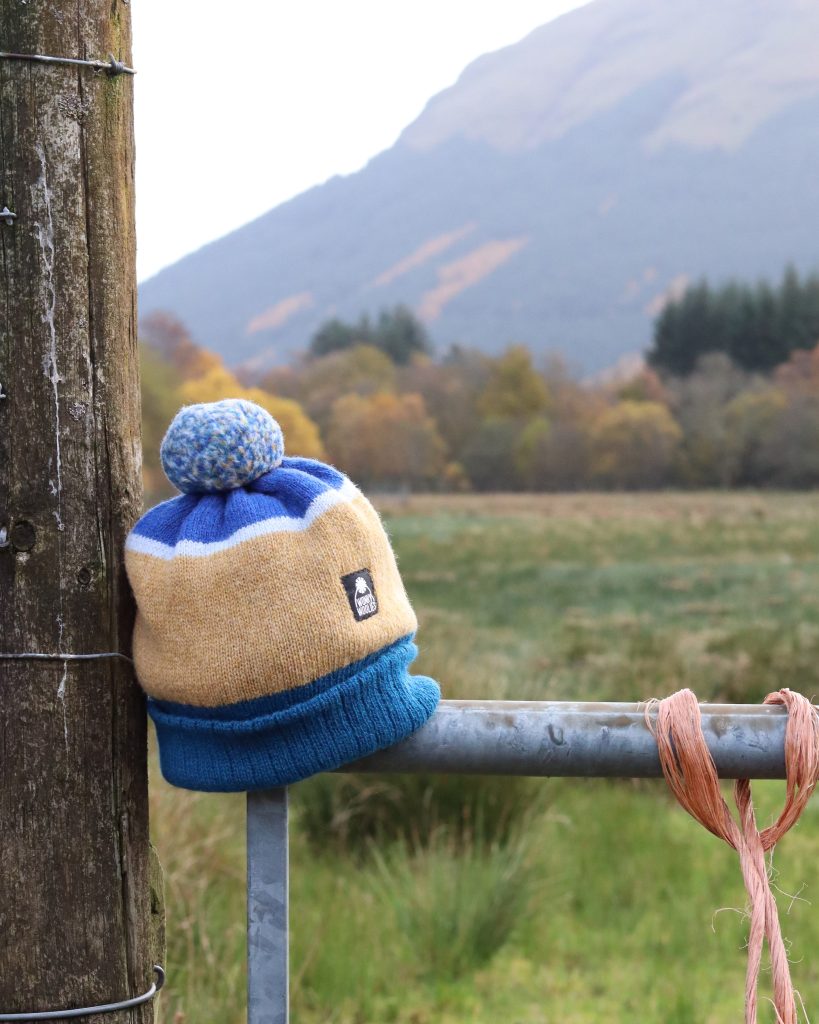
We love coming up with new colours of pompoms to adorn the top of our hats, have a look at the variety in our range of bobble hats.